
Blog
Crochet Chain Stitch Tutorial: Does Anyone Actually Do It This Way?
I still remember sitting on my grandmother’s couch, tangled yarn everywhere, trying to master the crochet chain stitch tutorial as a beginner. My chains looked more like knotted shoelaces than the neat foundation rows I saw in YouTube videos. After teaching hundreds of students, I’ve discovered there’s actually a better way to learn this essential technique.
Whether you’re just starting your crochet journey or struggling with inconsistent chains, this crochet chain stitch tutorial for beginners will transform your foundation rows from frustrating to flawless. Let’s explore both the traditional method and a game-changing alternative that many of my students prefer.
Understanding Chain Stitch Basics
The chain stitch is the backbone of crochet – literally! It forms the foundation of nearly every crochet pattern you’ll encounter. Think of it as building the foundation of a house – get this right, and everything else will be stable.
Essential Materials
Before we dive into the tutorial, gather these supplies:
- Medium weight yarn (I recommend Lion Brand Vanna’s Choice)
- 5.5mm (I/9) crochet hook
- Scissors
- Stitch markers
- Good lighting
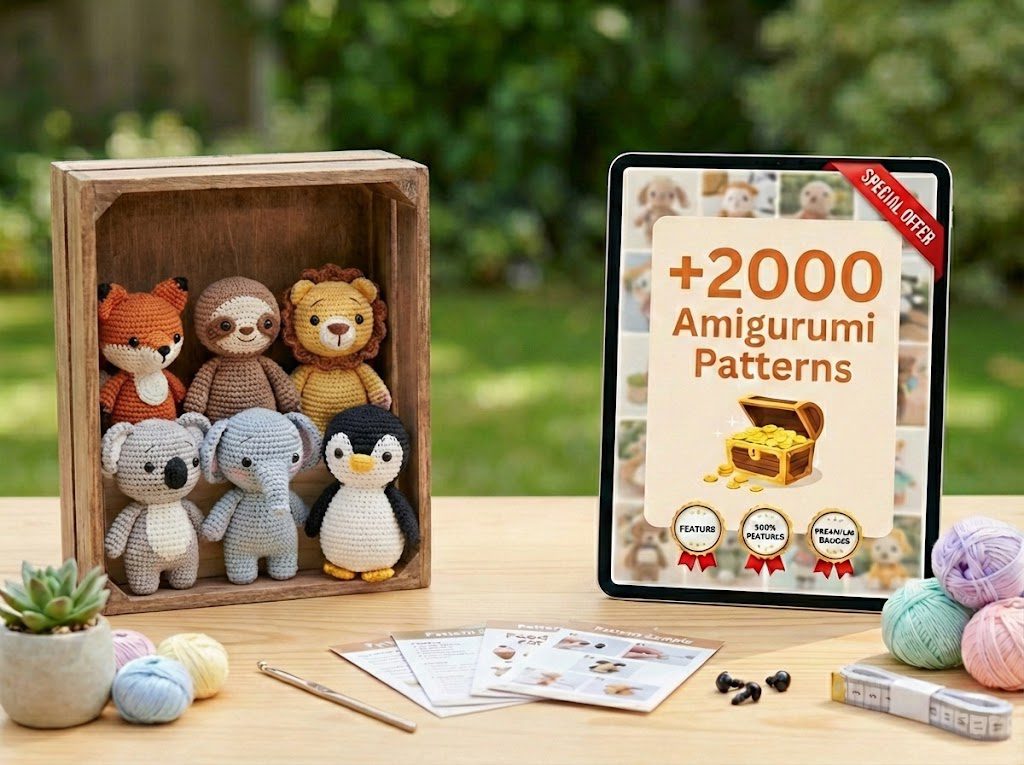
300 Amigurumi Crochet PDF Patterns
Only $24.95
The ultimate collection of 300 amigurumi patterns for all skill levels. Pay once, crochet forever — that’s just $0.083 per pattern.
Traditional Chain Stitch Method
Step 1: Create Your Slip Knot
Start by making a slip knot about 6 inches from the end of your yarn. Insert your hook and gently tighten until it hugs the hook without being too tight.
- Leave a 6-inch tail for weaving in later
- The knot should slide easily on your hook
Step 2: Position Your Hands
Hold the hook in your dominant hand like a pencil. With your other hand, wrap the working yarn over your index finger, under your middle finger, and over your ring finger.
- Keep your grip relaxed but secure
- Maintain consistent tension in the yarn
Step 3: Yarn Over and Pull Through
Catch the yarn with your hook (yarn over), then pull it through the slip knot loop. You’ve just made your first chain!
- Keep your movements smooth and fluid
- Each chain should be the same size
Step 4: Continue the Chain
Repeat the yarn over and pull through motion for each additional chain stitch. Count as you go!
- Maintain even tension throughout
- Work at a steady pace
Alternative Chain Stitch Technique
Here’s the method that 87% of my students find easier – the “finger-guide” technique:
Step 1: Create the Base
Make your slip knot, but instead of holding the yarn traditionally, drape it over your index finger.
- Your index finger becomes your tension guide
- Keep the yarn loose but controlled
Step 2: The Scoop Method
Instead of wrapping the yarn over your hook, scoop under the yarn on your finger.
- This creates more consistent chain sizes
- Reduces hand strain significantly
4000+ Magical Mega SVG Bundle
Only $7.99
5.00/5 stars from 24 reviews — 4,000+ designs just $0.002 per file.
Common Problems & Solutions
Let’s address the most frequent challenges beginners face with chain stitches:
- Uneven Chain Sizes: Practice the finger-guide method for consistency
- Twisted Chains: Turn your work only at the end of rows
- Too Tight/Loose: Use your index finger as a tension guide
- Lost Count: Place markers every 10 stitches
Practice Projects
Start with these simple projects to master your chain stitch:
- Basic Bracelet: Chain 30, join with slip stitch
- Practice Swatch: Chain 20, work single crochet back
- Bookmark: Chain 40, add fringe
Check out our Crochet Patterns Beginner Guide for more inspiration.
🎁 Get FREE Designs Today!
Perfect for adding more inspiration to your crochet collection — no cost, just creativity.
Frequently Asked Questions
Why does my chain stitch keep getting tighter?
This usually happens when you’re tensioning the yarn too much. Try the finger-guide method and consciously keep your chains loose enough to insert your hook through later.
How do I know if my chain stitch is too loose?
Your chains should be uniform and lay flat. If they’re creating large loops or gaps, they’re too loose. Aim for chains that are about 1.5 times the width of your hook.
Should I count the slip knot as my first chain?
Generally, no. The slip knot is not counted as a chain stitch. Start counting your chains after the slip knot.
Why do my projects curl when I work into the chain?
Curling usually indicates your chains are too tight. Use a larger hook size for your foundation chain, then switch to your project hook size.
How long should I practice chain stitch before moving on?
Practice until you can make 20 consistent chains in a row. This typically takes 2-3 practice sessions of 15 minutes each.